If you have people that are responsible for approving contracts generated from a certain template, you can set up rules for when and which approvals should be required.
Setting approval automation
Adding approvers

Precisely offers two types of approvals. You can choose to not use approvals, use one, or use both for each of your templates:
Initial approval is made after a draft has been generated from an automated template but before it is sent for negotiation. The approver automatically receives a notification to approve once the project is created.
Final approval is made after the negotiations (and amendments), before the project is sent for e-signing. The final approval needs to be manually requested by the project creator once the project is ready to be sent for signing.
Approvers and approval rules are applied individually to each template. To add approvers, simply
-
Click Templates in the top menu and choose the template you wish to add approvers to,
-
Click the New approver button in the Approvals section and select the appropriate approver,
-
Decide whether all approvers must approve the contracts generated from the template, or whether it's sufficient for any person on the list to approve them individually whenever they're added as an approver. The latter is the standard option.
In case you want all added approvers to approve, simply click the “Require approval by all” switcher, which will turn blue when activated.
Please note that only Admins and Managers of your organization can be selected as approvers.
Creating conditions for approvals
You can also add conditions for when a person should be included as an approver. For example, a certain person could be included as an approver only if the deal value exceeds a certain amount. If you don’t add conditions, all approvers will be added for each contract generated from the template.

To create conditions for approval, simply
-
Add an approver and click the Add Conditions switcher,
-
Set up the conditions for approval. You can choose between the following values:
Reference lets you create a condition based on responses to questions in the drafting questionnaire. This option is suitable e.g. when you only want the approver to be added for contracts exceeding a certain value.
Contract creator lets you create a condition based on who drafts the contract. This option is suitable e.g. if you have a manager that is responsible for approving drafts created by certain people.
Team lets you create a condition based on which team the person that drafts the contract belongs to. This option is suitable e.g. if you have different approvers for different departments.
Creating condition groups
For each approver, you can combine rules using logical operators:
- AND
- OR
Each condition group can only use one operator (either AND or OR).
To add a condition to a group:
- Click the “+” (plus) button
- Select the desired operator (AND or OR)

If you need to combine different types of logic (both AND and OR), you can create additional condition groups.
- Click “Add condition group” to create a new group
- Each group can use a different operator
- This allows you to build more complex rule logic for the approver

Example:
Jane Doe approves a contract if:
- The contract value is greater than 10,000 AND
- The drafting team is HR AND
- The contract creator is Chloe B
If you also want to include an OR condition:
- Add a new condition group with the OR operator
- Define the additional rule, for example:
- Jane Doe also approves if deliverables are included in the agreement

- Click Save.
Setting approval orders
You are also able to determine in which order approvals should be made using approval orders. Combining approval orders with approval rules allows for some truly powerful approval workflows.
To set approvals orders, simply:
-
Click Templates in the top menu and choose the template for which you wish to configure approval orders,
-
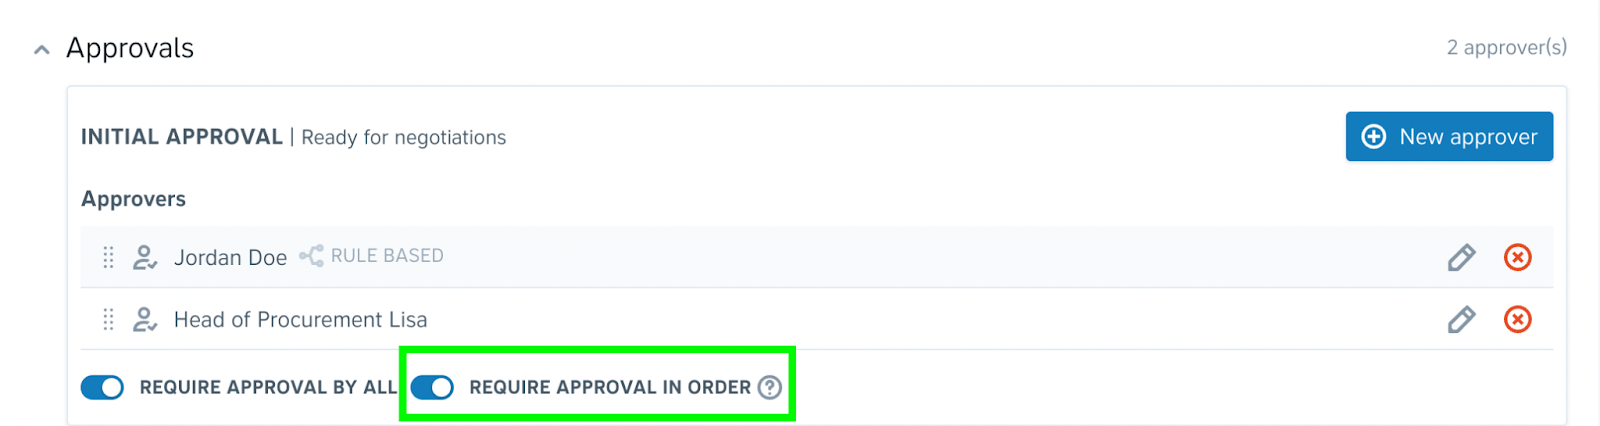
Add your approvers in the Approval section and activate the Require approval in order switch (it turns blue when activated and grey when deactivated),
-
Drag and drop the approvers in the list until you have the correct order.
Note: In order for approval orders to work, Require approval by all must also be enabled.
What happens when I have activated approvals?
Once approvals are activated for a template, users generating a contract using that template won't be able to send the contract for negotiation or e-signing, depending on if initial approval, final approval, or both are activated, before it’s approved by an authorized approver (or all of them, if required).
The approval workflow in generated projects
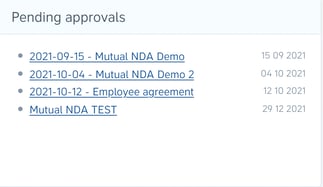
Initial approval: When a contract is generated from the template, the approvers receive an automatic email notification. The pending approval also appears in the approver's dashboard.
The approver can either approve the draft or request changes in the project’s overview. If the approver requests changes, they will be visible in the Notes section of the project’s overview.
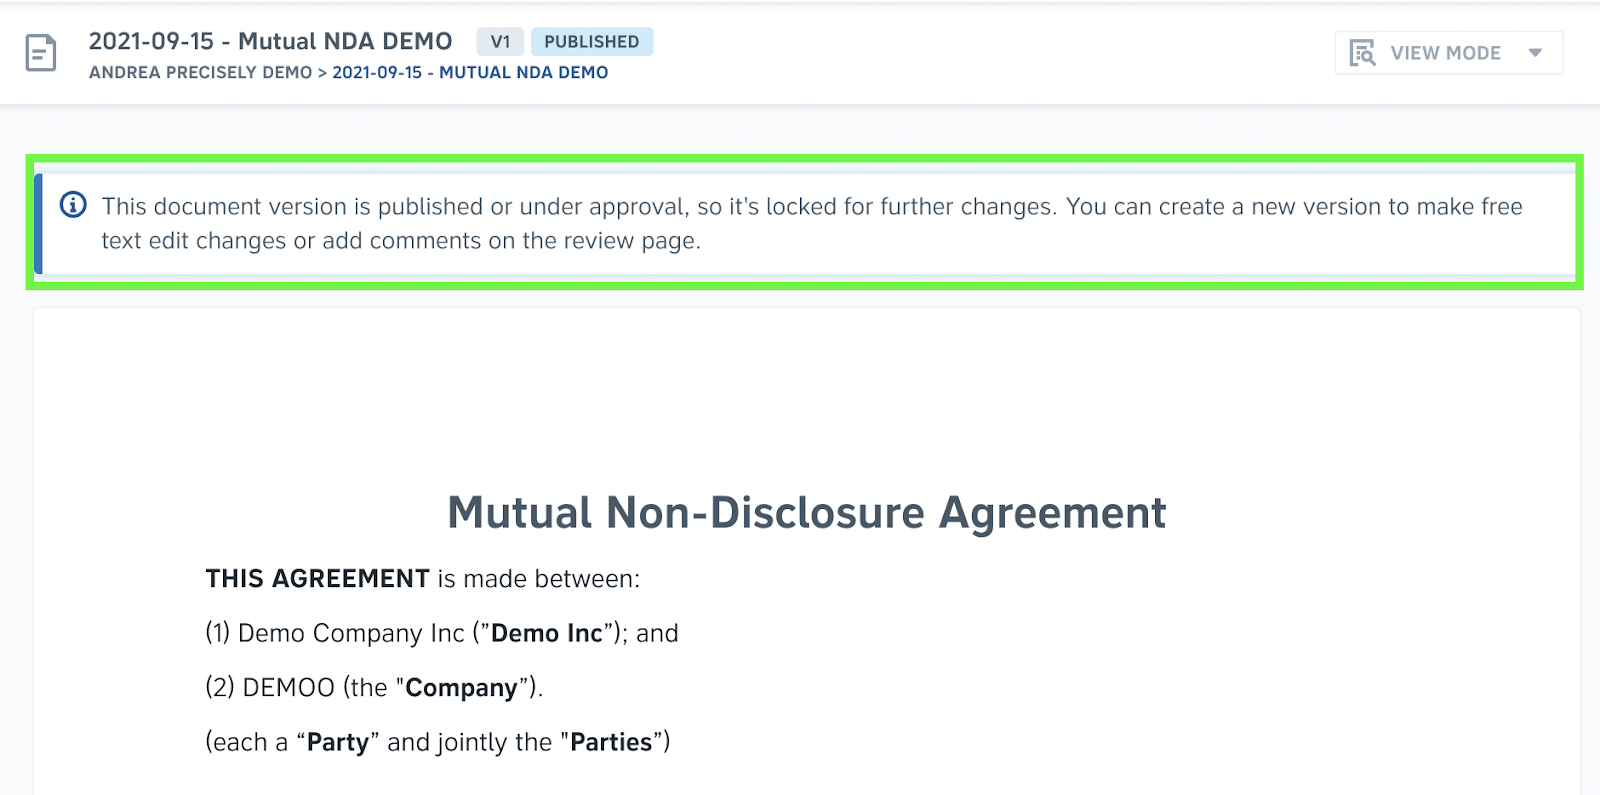
Once the project has been approved, the contract(s) will be locked for further edits. The contract can now also be sent for negotiation or sent for signing unless final approval is activated for the template.
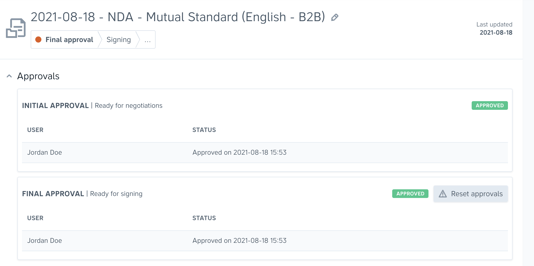
Final approval: once a contract has been negotiated and amended, it is ready for final approval. Final approval needs to be requested in the Approvals section of the project’s overview.
The approvers can then approve of the project, allowing it to be sent for signing, or deny it. When denying final approval, the request is reset and needs to be requested again once the changes have been made.
If final approval is denied, the approver can leave a note about what changes should be made, which can be found in the Notes section of the project.
Tip: Send an email reminder to pending approvers by clicking the bell icon, or click here to learn how to set up automatic approval reminders.

Which user roles can be involved in the approval workflow?
Admin and Manager users can be added as approvers.
Admin users can approve on behalf of any approvers. Read more
Admins and Managers on the approvers list can reset approvals.
Optional Template Setting:
All Manager users and Member users who drafted the contract can reset final approvals.
