To ensure that contracts are easily understandable, you're able to format your contracts using text formatting, lists, page breaks, and more in Precisely's template editor.
Text formatting
You can format text content in your documents using the formatting options in the editor. The options for character sizes are:
-
Paragraph text
- default size: 11
- other available sizes: 9, 7, 5
-
Heading 1
-
Heading 2
-
Heading 3
-
Quotation
You can also format text. The available text formatting options are:
-
Bold
-
Italic
-
Underlined
Text alignment
Precisely’s editor also has options for text alignment. The available options are:
-
Left aligned
-
Right aligned
-
Center aligned
-
Justify
Lists
To create a list in a template, just follow these simple steps:
-
Click Templates in the main navigation and click the name of the template that you wish to add a list to,
-
Enter the editor by clicking Edit in the template's overview,
-
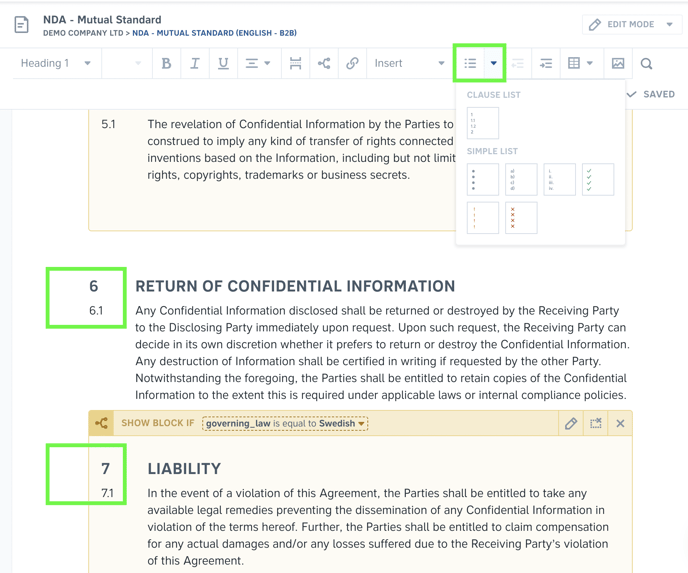
Click the list button to add a clause list, or click the arrow next to it to choose from the different list types available.
There are a few types of lists to choose from:
-
Clause list — a numbered list, with nested lists, that numbers clauses in the document.
-
Simple bulleted list
-
Simple list with lowercase letters
-
Simple list with roman numerals
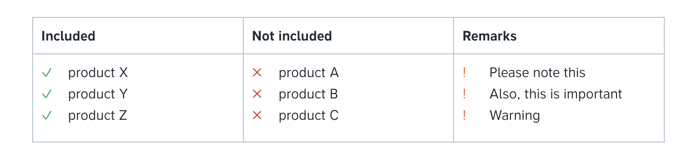
- Simple list with green check marks
- Simple list with orange exclamation marks
- Simple list with red cross marks
When using any sort of numbered list, the numbering is automatically updated as you add or remove numbered clauses. E.g. if you have created clauses #1 and #2, indenting a section in between (creating a new #2) will automatically update the numbering of your previous clause #2 to #3.
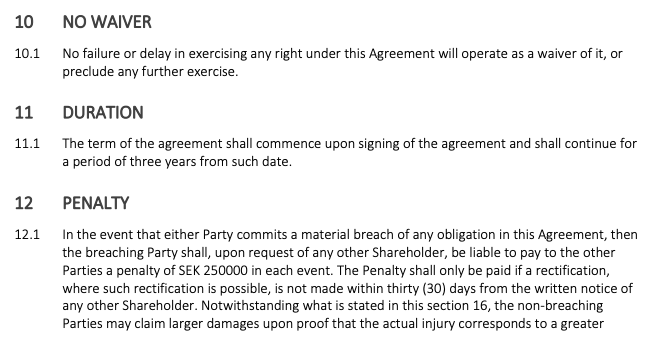
This is what a clause list looks like in a .pdf generated from a template.
If you'd like to use more parts of documents in the same document (e.g. the main documents + appendix that requires logic), you can easily restart automatic numbering.
To easily manage automatic numbering, click on the number to either
- restart numbering (change 17 to 1), or
- continue the previous numbering (change 1 back to 17)

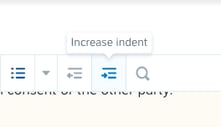
Pro tip: To quickly create and edit your lists, you can use the Decrease/Increase indent buttons. You can also use Tab or Shift + Tab to increase/decrease the indentation.
Tables
Inserting a table
To add a table to a draft or template document, simply
-
Click Draft & Sign or Templates in the top menu and choose the document you want to add a table to,
-
Open the project or template document by clicking the Edit button to the right of the document's name,
-
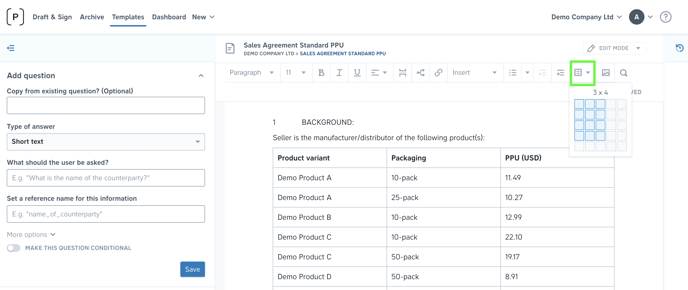
Choose position in the document and click the Table button,
-
Select the correct size of the table.
Editing a table
To edit a table, simply
-
Click the correct position in your table,
-
Click the Table button,
-
The Insert option lets you insert a row, a column, or another table within the selected cell
-
The Remove option lets you remove a row, a column, or the entire table

You can also edit a table by selecting a cell in it. When you have selected a cell, more options for removing and adding rows and columns, removing table borders, and resizing columns become available.
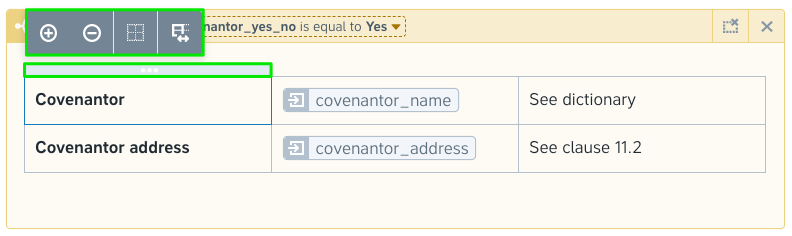
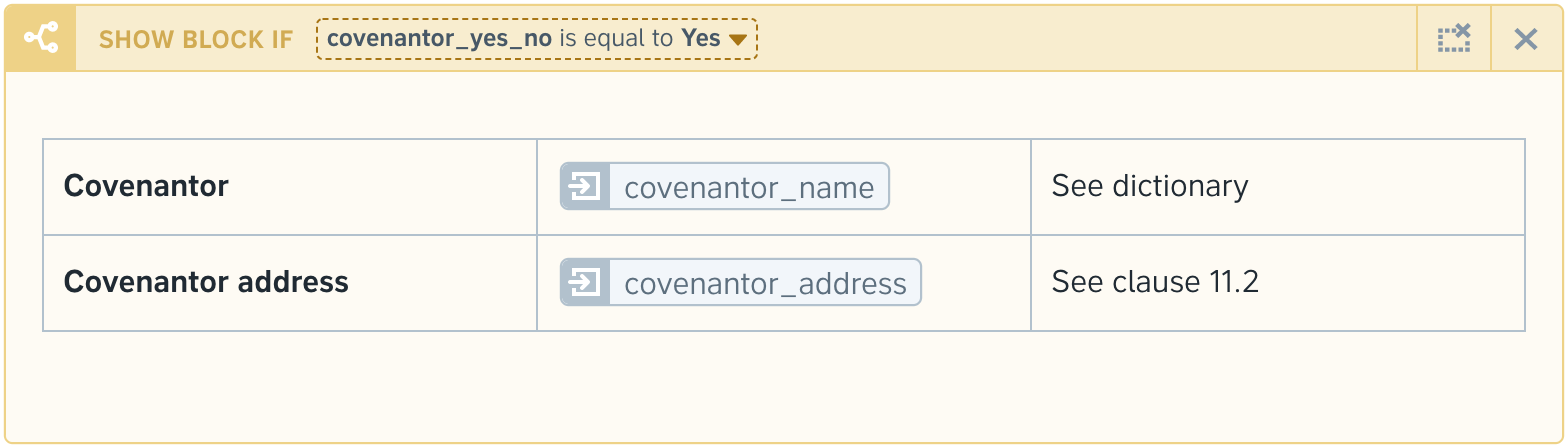
Pro tip: Tables can also be used in conditional blocks in templates, meaning that they can be included or excluded depending on the user’s answers while drafting a contract from a template.
Pro tip 2: You can also make table rows conditional. Learn more
Copy and paste tables: When copying and pasting tables in the editor, all logic is copied including references, formulas, and table row conditions.
Page breaks
Another styling and formatting feature available in Precisely's editor is page breaks. To add a page break to a template, simply:
-
Click Templates in the main navigation and click the name of the template that you wish to add a page break to,
-
Enter the editor by clicking Edit in the template's overview,
-
Choose position of the page break by positioning your cursor and clicking the correct location in the document,
-
Click the Page break button.
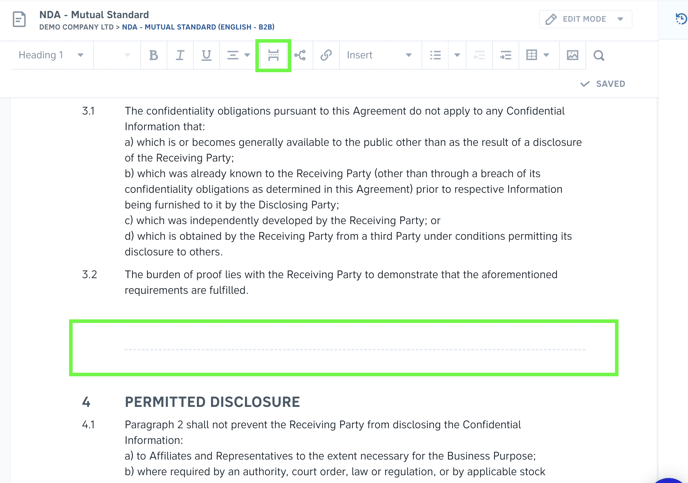
Voilá! You just created a page break. Page breaks are visualized by thin, dashed lines in the editor. To remove a page break, click the dashed line and click the page break button again, or simply erase the dashed line.
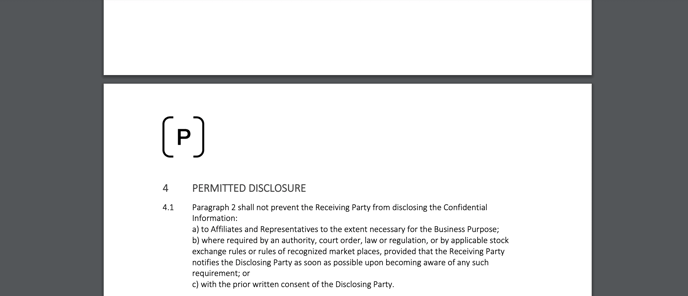 Screenshot of a .pdf contract with a page break generated from the template used to visualize the page break button and indicator above.
Bold formatting of user input/answers to questions
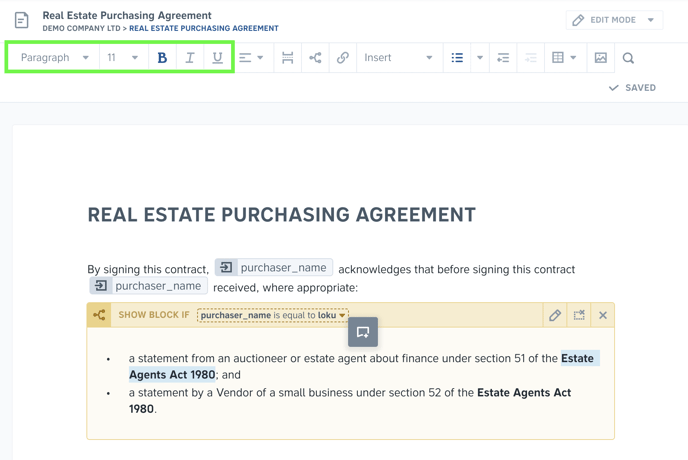
You can also choose to format references in such a way that the user input/answers to questions are automatically bold formatted.
To bold format a reference, simply:
-
Click Templates in the main navigation and click the name of the template that you wish to add a bold formatted reference to,
-
Enter the editor by clicking Edit in the template's overview,
-
Select the reference you wish to bold format as well as the preceding or subsequent character space,
-
Click the bold formatting (B) button.
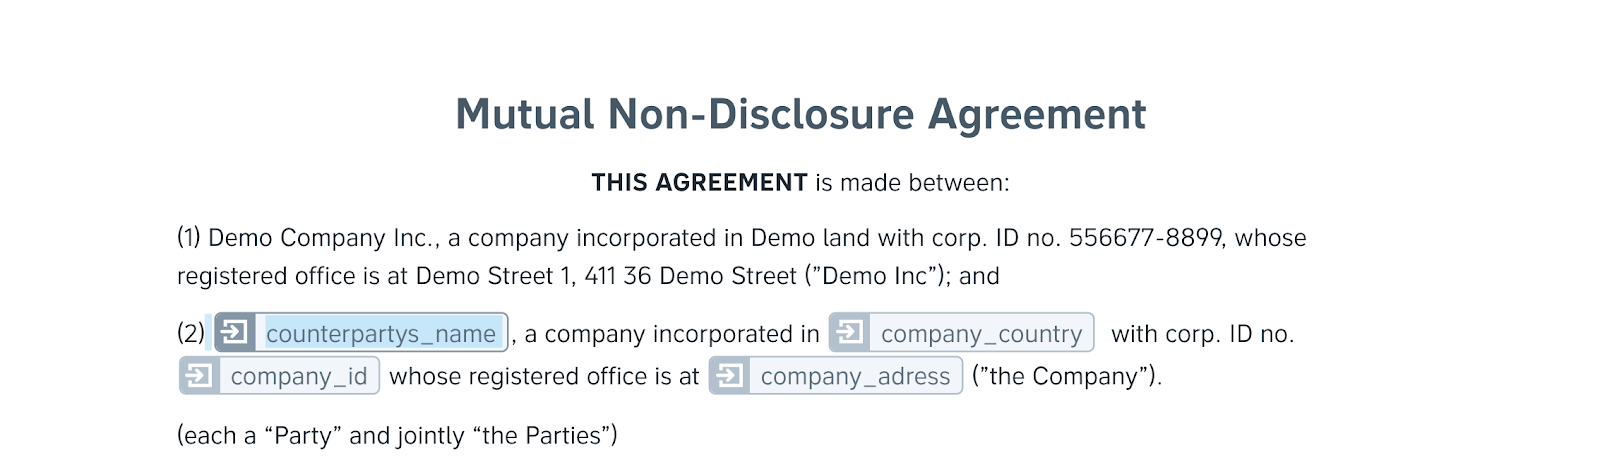
Screenshot of a template in the editor with a reference and its preceding character space selected.
Voilá! Any contract generated from this template will now have this user input/answer bold formatted.
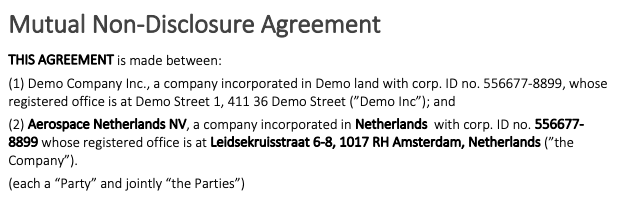
Screenshot of a contract generated from the template used to visualize bold formatting of references.
Images
Finally, you are able to upload images to your documents.
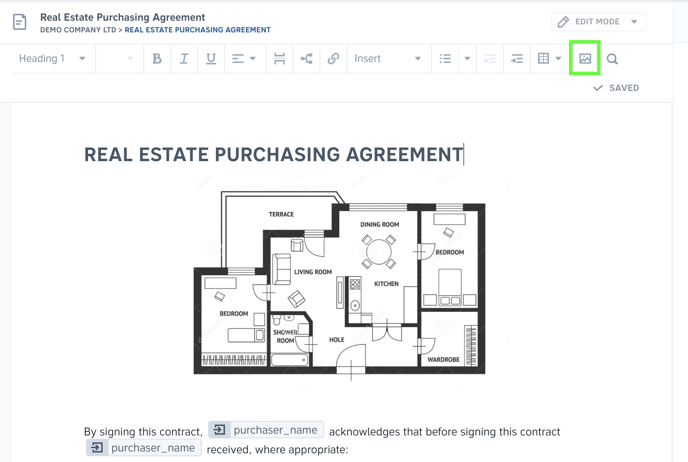
Note: Images are uploaded in their original size. To change the size of an image, simply resize it before uploading it.
💡Pro tip: If you want to change the size of images, use different alignments, or use multiple images in the same row, you can create a table, add image(s), adjust size of table cells, and finally - make table invisible. Scroll up in this article to see a video on how to work with tables.
Psst. Did you know that you can also add your logo to your templates?
What is not supported (yet😎)?
Certain functionalities are not yet available in the Precisely editor.
Currently, we don't support:
- different fonts
- header/footer
- automatic page numbering
- resizing images
- merging table cells
Are you missing a feature? Make sure to send us your improvement suggestion via our feedback form.