Moving information between software is often a manual, time-consuming, and error-prone practice. With Precisely’s Zapier app, you can easily integrate multiple systems and send data between the different platforms automatically.
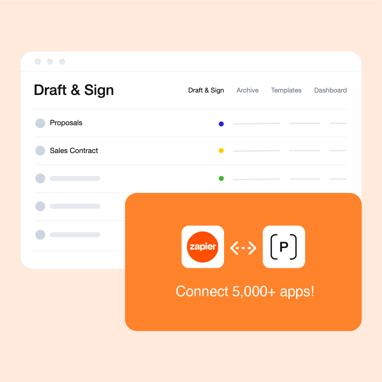
Zapier makes it possible to automatically move data between your apps and build custom integrations without any coding. Currently, you can connect Precisely to 5000+ other apps.

How does it work?
Zapier lets you create automated workflows called Zaps.
A Zap consists of two main components:
- a Trigger event, and
- one or more Actions.
Example: A Trigger event could be a contract signed through Precisely. When a contract is signed, this triggers the Action, such as sending a Slack message or saving a back-up copy of the signed contract to Google Drive.
Which Trigger events and Actions are supported?
Trigger events
When creating Zaps, you're able to use one of the following Precisely Trigger events:
- Contract Created
- Contract Project Created
- Contract Signed
Actions
The supported Precisely Actions are:
- Create Document
- Upload PDF to Project
- Send a Project for Signing
- Send a Contract for Signing
- Find a Document
- Find a Contract Project
- Add Metadata Point to a Document
- Create Contract from Template
- Add Signee to Project
- Add Signee to a Contract
- Find Metadata Points for a Document
- Find a Template
- Add Reminder to a Document
Example: Creating a Precisely + Google Drive Zap
Prerequisites
To create integrations using Precisely’s Zapier app, you must have a Zapier account and an active Precisely account.
Trigger event
Contract Signed in Precisely.
Action
Upload a PDF copy of the signed document to a Google Drive folder.
Installation
When logged into Zapier, start off by clicking the Create button.

On the first page of the Zap creation, start by naming your Zap and setting your Trigger event and the following Action.

How to setup the Trigger event:
- Click the Trigger box, search for the Precisely app, and select it.
- Select the Trigger event, such as Contract Signed, and connect your Precisely account.
- Continue to the Configure page and select your Precisely organisation.
- Continue to the Test page to test your trigger by selecting a sample document from the list.

How to setup the Action:
- Select the app that will be integrated with Precisely. In this example, we are using Google Drive. You may need to give Zapier access to your chosen application.
-
Choose the Action event, such as Upload File. Connect your Google Drive account to Zapier.
- Continue to the Configure page and set up the details. For this example, you need to select your Google Drive, choose the folder where the document will be uploaded to, and choose the type of file to upload. In this case, you will select 'PDF File' to upload a PDF version of the signed document to your Google Drive folder.
- Continue to the Test page and run a test to ensure the Zap works.
- The final step is to Publish your Zap to make it live!


For more examples and Zap templates, please visit Zapier's page.
Any questions remaining? Get in touch!